A Gentle Guide to Making a Wig From Your Own Hair -Before Chemo Begins
Created with love and care to help woman hold onto a part of themselves during treatment
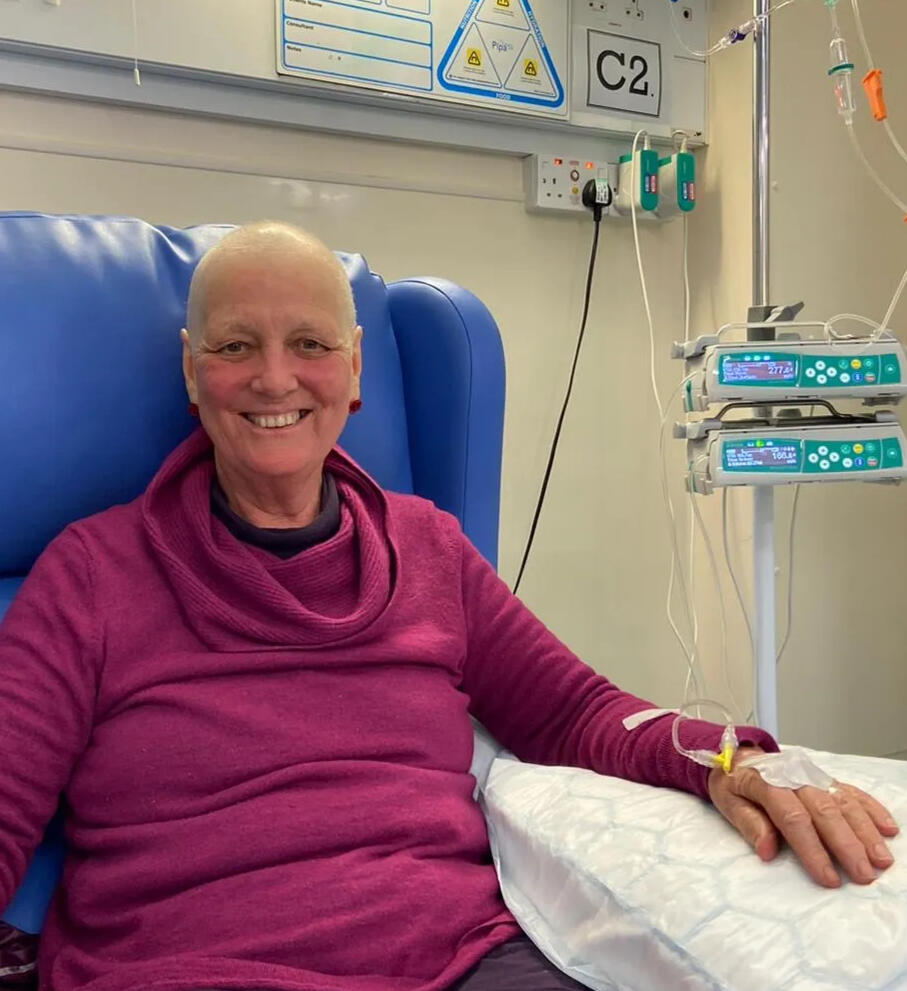
Facing Chemo With Courage
Starting chemotherapy can feel overwhelming. One of the hardest parts is knowing you may lose your hair — something that feels so personal and tied to your identity.That’s why we created this course: to give you a way to hold onto a part of yourself during treatment.
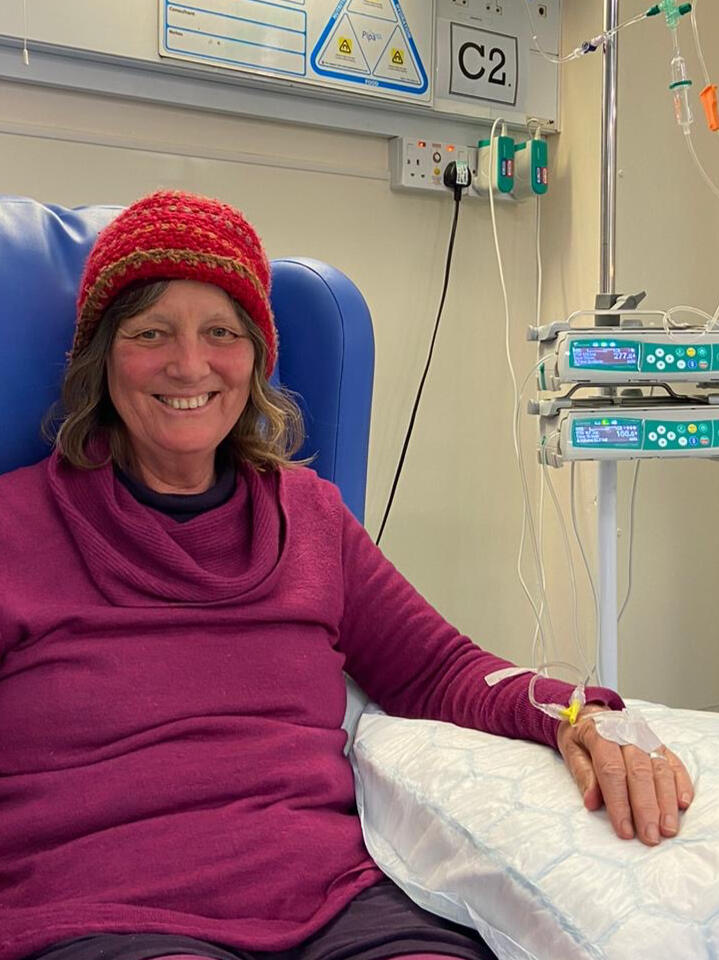
Wearing a Piece of Yourself
This is me — with my wig made from my own hair. It gave me strength, comfort, and a little bit of normality on the tough days.In this free course, I’ll show you step by step how you can make your own wig before treatment begins. No technical skills needed — just simple, gentle guidance.
An Under-hat Wig for Everyday Comfort
The wig we teach you to make is designed to be worn under your favourite hats.
It’s lightweight, secure, and comfortable — giving you the freedom to look and feel like yourself, without the heaviness of a full wig.
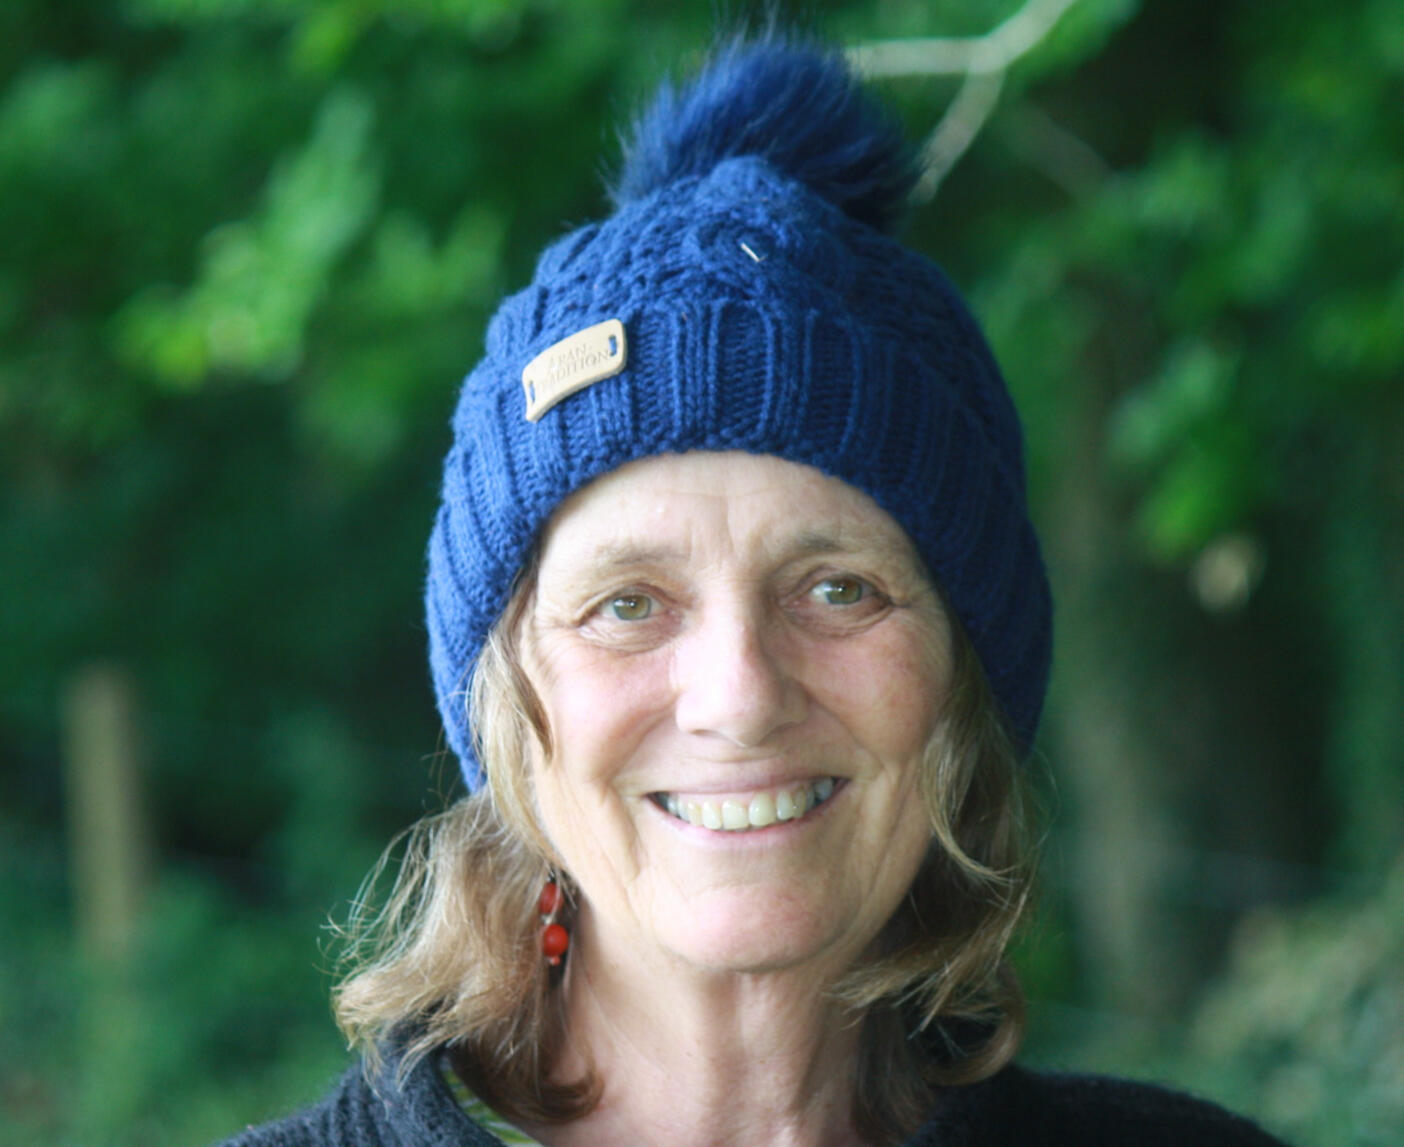
Style It Your Way
Because it’s an underhat wig, you can pair it with all kinds of hats — woolly hats, sunhats, scarves, or caps.
It’s flexible, natural, and simple to wear, so you can step out with confidence in every season.

A Gentle Step-by-Step Guide
Before chemotherapy begins, it’s important to cut and save your hair carefully so it can be used to create your underhat wig.This free guide shows you — and your hairdresser — exactly how to do it, step by step. It makes the process simple, clear, and stress-free, so you can feel confident your hair is prepared in the best way possible.

Supplies You Need & Where To get Them
Everything Ready in One Place
To make your wig, you’ll need a few basic supplies. We’ve created a free guide that lists everything you’ll need — from caps and clips to thread and needles — plus where to find them.Having the right tools ready makes the process smooth, simple, and reassuring.

How to get the best out of this course
This course is designed to guide you step-by-step through the entire process of cutting, saving, and preparing your hair to be made into a wig before chemotherapy.You’ll find 26 short lessons that break everything down into manageable steps — from the very first cut, through labelling and layering, to finishing touches.You can:- Follow along in order (recommended if you’re doing the full process), or
- Jump directly to the lesson you need most.✨ In addition to the main path, we’ve created a few optional lessons for special situations — like cutting short hair, thinning hair, or using a sewing machine.Below is the full sequence of lessons for easy reference:Start here with the full playlist (recommended):👉 🎥 Watch the Full Course on YouTubeOr browse the lessons below:
✂️ Cutting & Saving Your Hair- Lesson 1 – Preparing Your Hair
- Lesson 2 – Cutting & Saving (Layer 1)
- Lesson 3 – Cutting & Saving (Layer 2)
- Lesson 4 – Cutting & Saving (Layer 3)🏷️ Labelling & Organising- Lesson 5 – Labelling Hair PiecesLayer Cutting- Lesson 6 – Cutting Layer 1 (Part 1)
- Lesson 7 – Cutting Layer 1 (Part 2)
- Lesson 8 – Cutting Layer 2 (Part 1)
- Lesson 9 – Cutting Layer 2 (Part 2)
- Lesson 10 – Cutting & Labelling Layer 2
- Lesson 11 – Cutting Layer 3 (Part 1)
- Lesson 12 – Cutting Layer 3 (Part 2)
- Lesson 13 – Finishing Layer 3💇♀️ Styling & Tidying- Lesson 14 – Tidying Short Haircut (Part 1)
- Lesson 15 – Tidying Short Haircut (Part 2)
- Lesson 16 – Tidying Short Haircut (Part 3)
- Lesson 17 – Finishing Touches🧵 Weft Making & Sewing- Lesson 18 – Making Your Wefts
- Lesson 19 – Sewing Wefts to Underhat (Part 1)
- Lesson 20 – Sewing Wefts to Underhat (Part 2)
- Lesson 21 – Sewing Wefts to Underhat (Part 3)
- Lesson 22 – Attaching Your Fringe
- Lesson 23 – Sandwiching Hair Between Hats (Part 1)
- Lesson 24 – Sandwiching Hair Between Hats (Part 2)
- Lesson 25 – Sandwiching Hair Between Hats (Part 3)
- Lesson 26 – Final Sewing & Finishing✨ Tip: Follow the playlist for the smoothest experience — each lesson plays in order automatically.
Real Results, Real Stories
These photos show the journey of women who followed the course — from saving their hair, to creating an underhat wig they could wear with confidence.
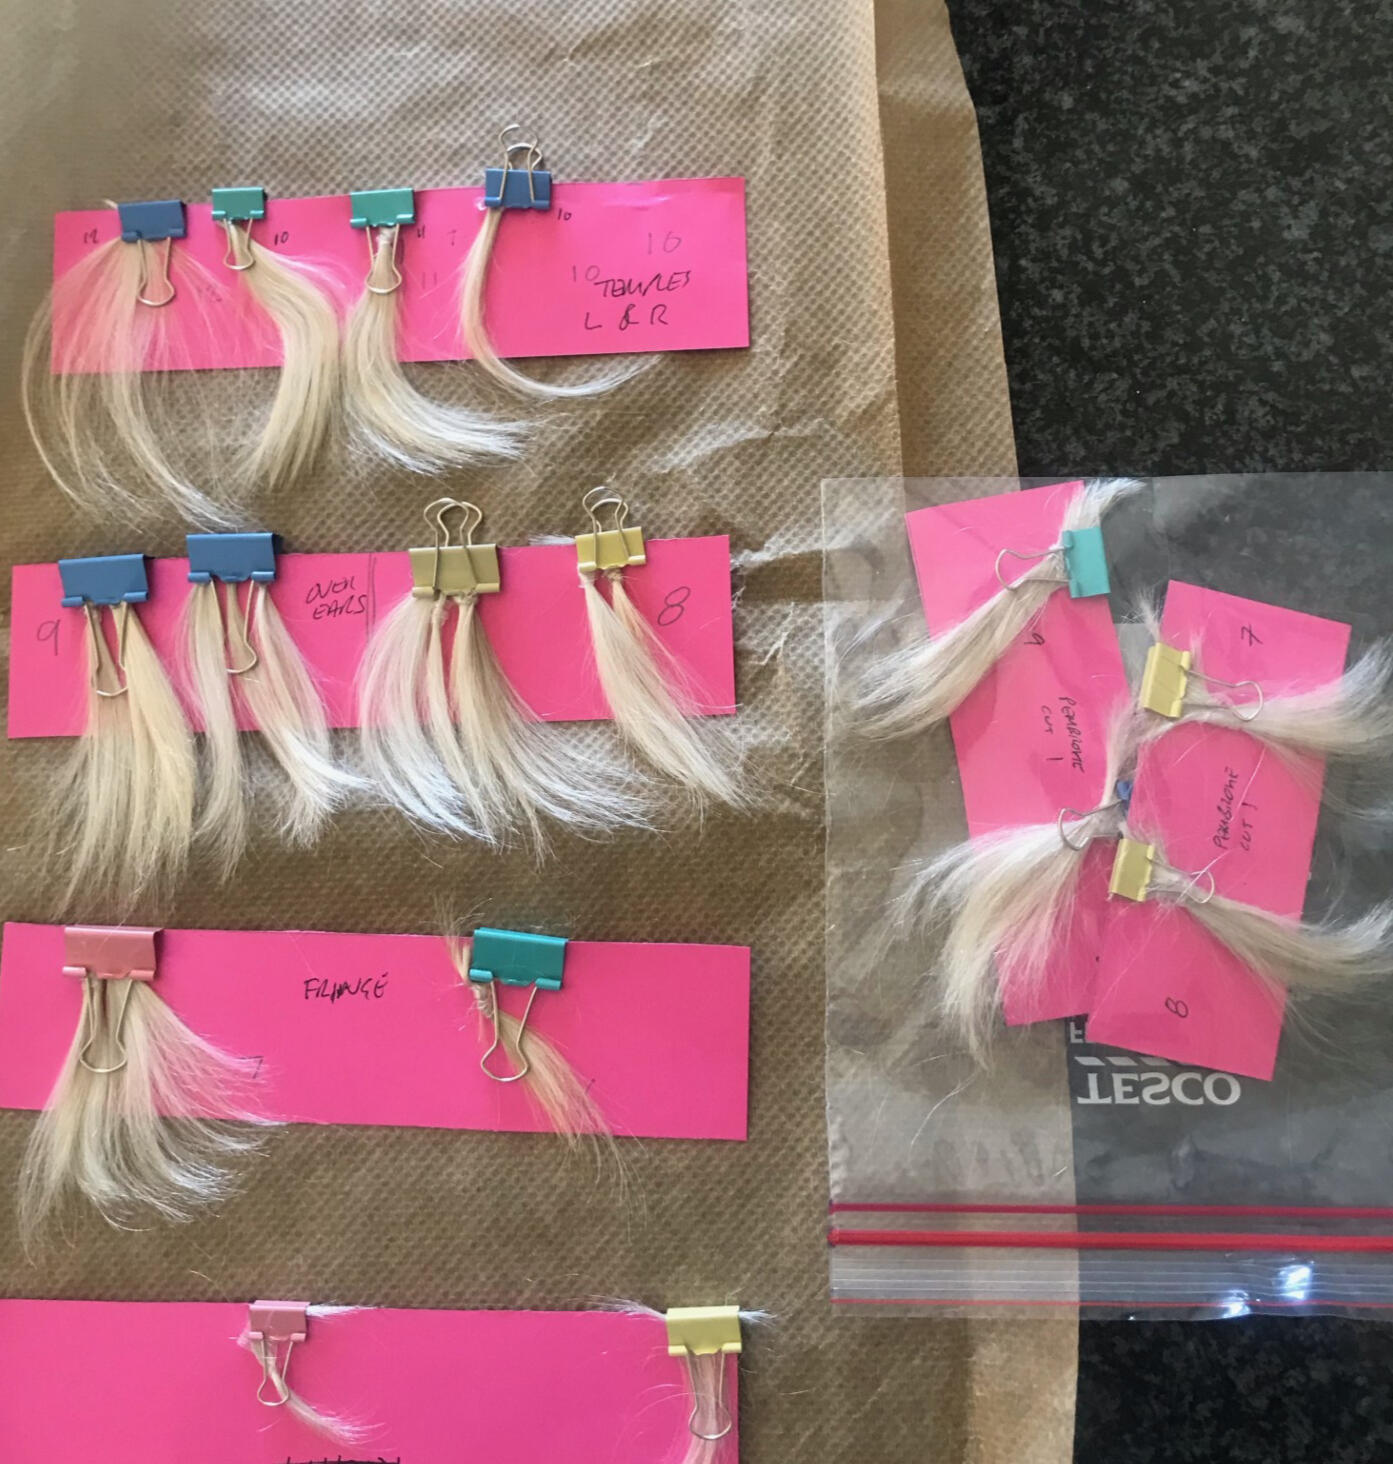
Every Strand Carefully Saved, ready to be turned into something meaningful.
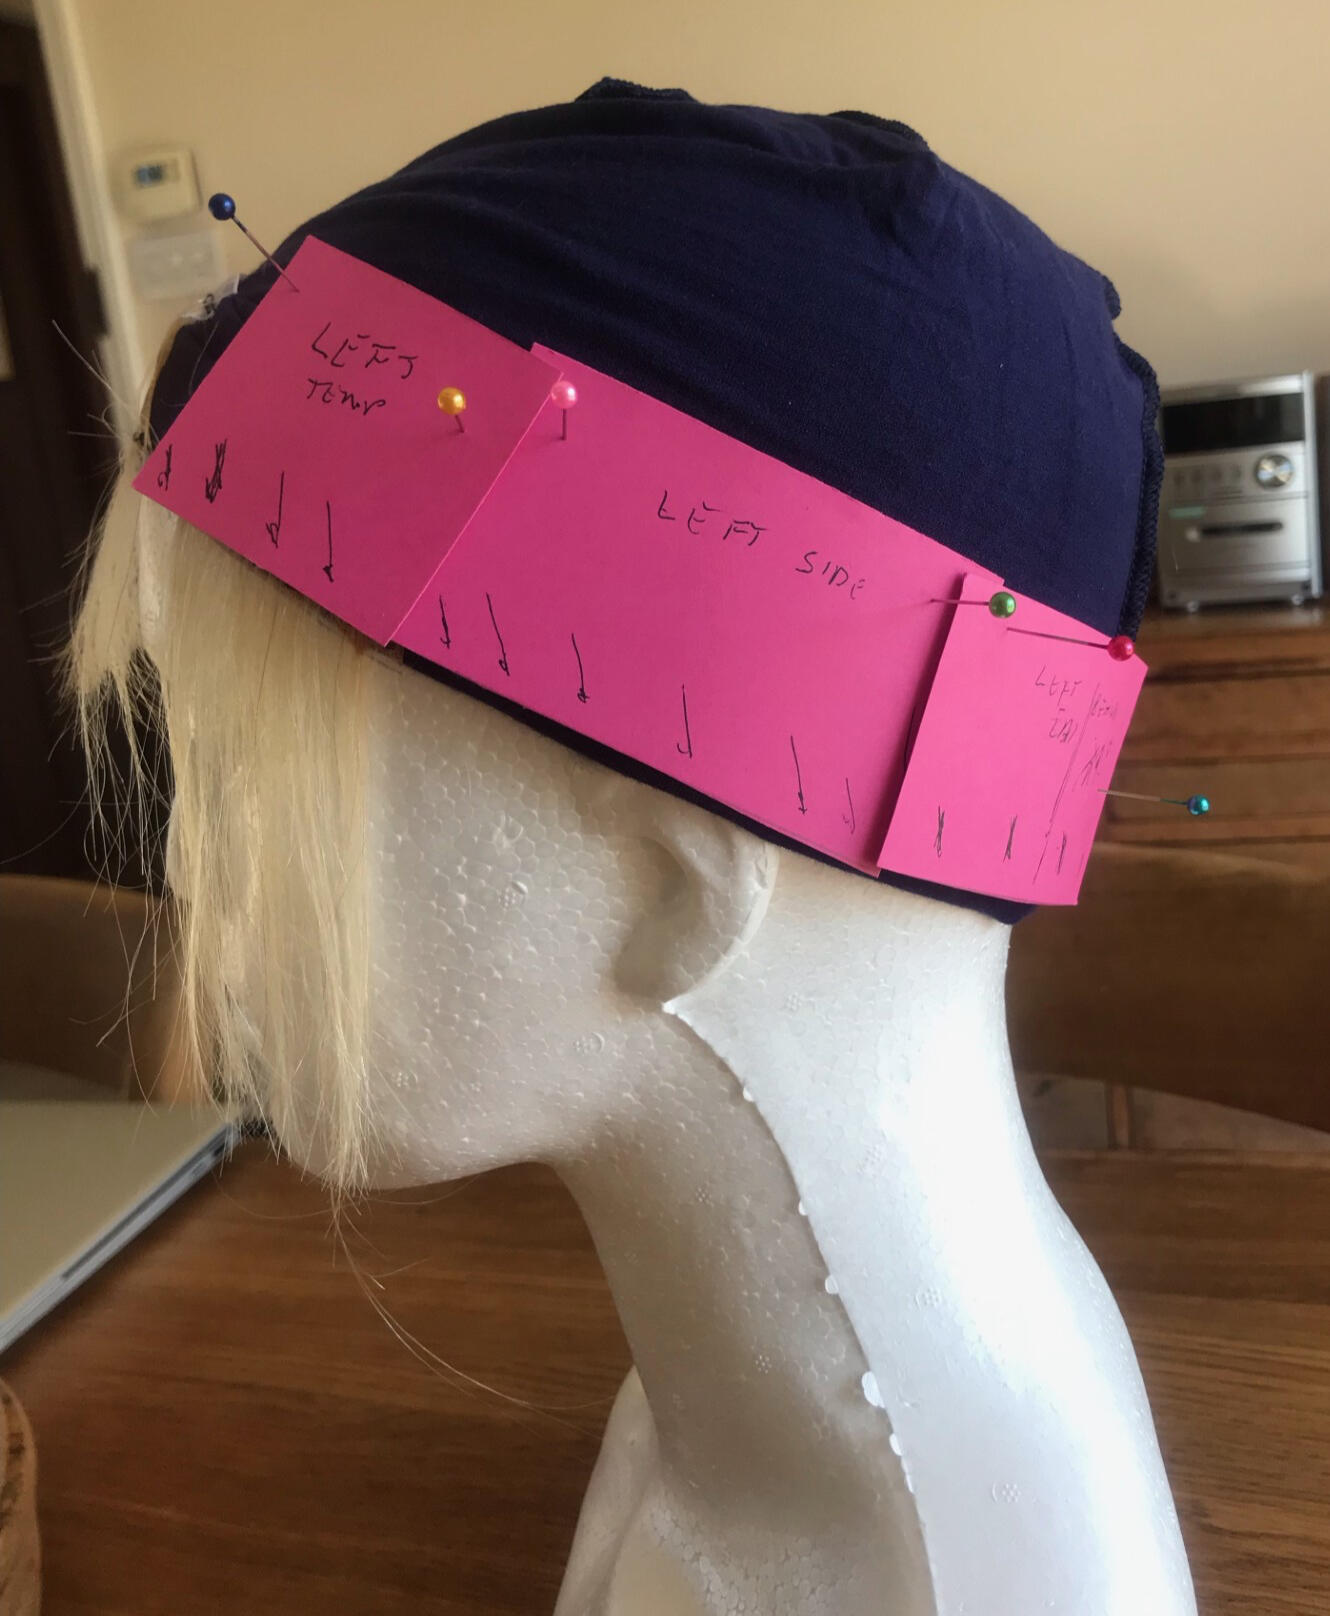
Hair is cut, labelled, and stored so it can all be used — nothing wasted, everything treasured.
From Saved Hair to a wig -lightweight, natural, and truly yours.
Each section of hair is carefully sewn onto the cap, building the underhat wig step by step.
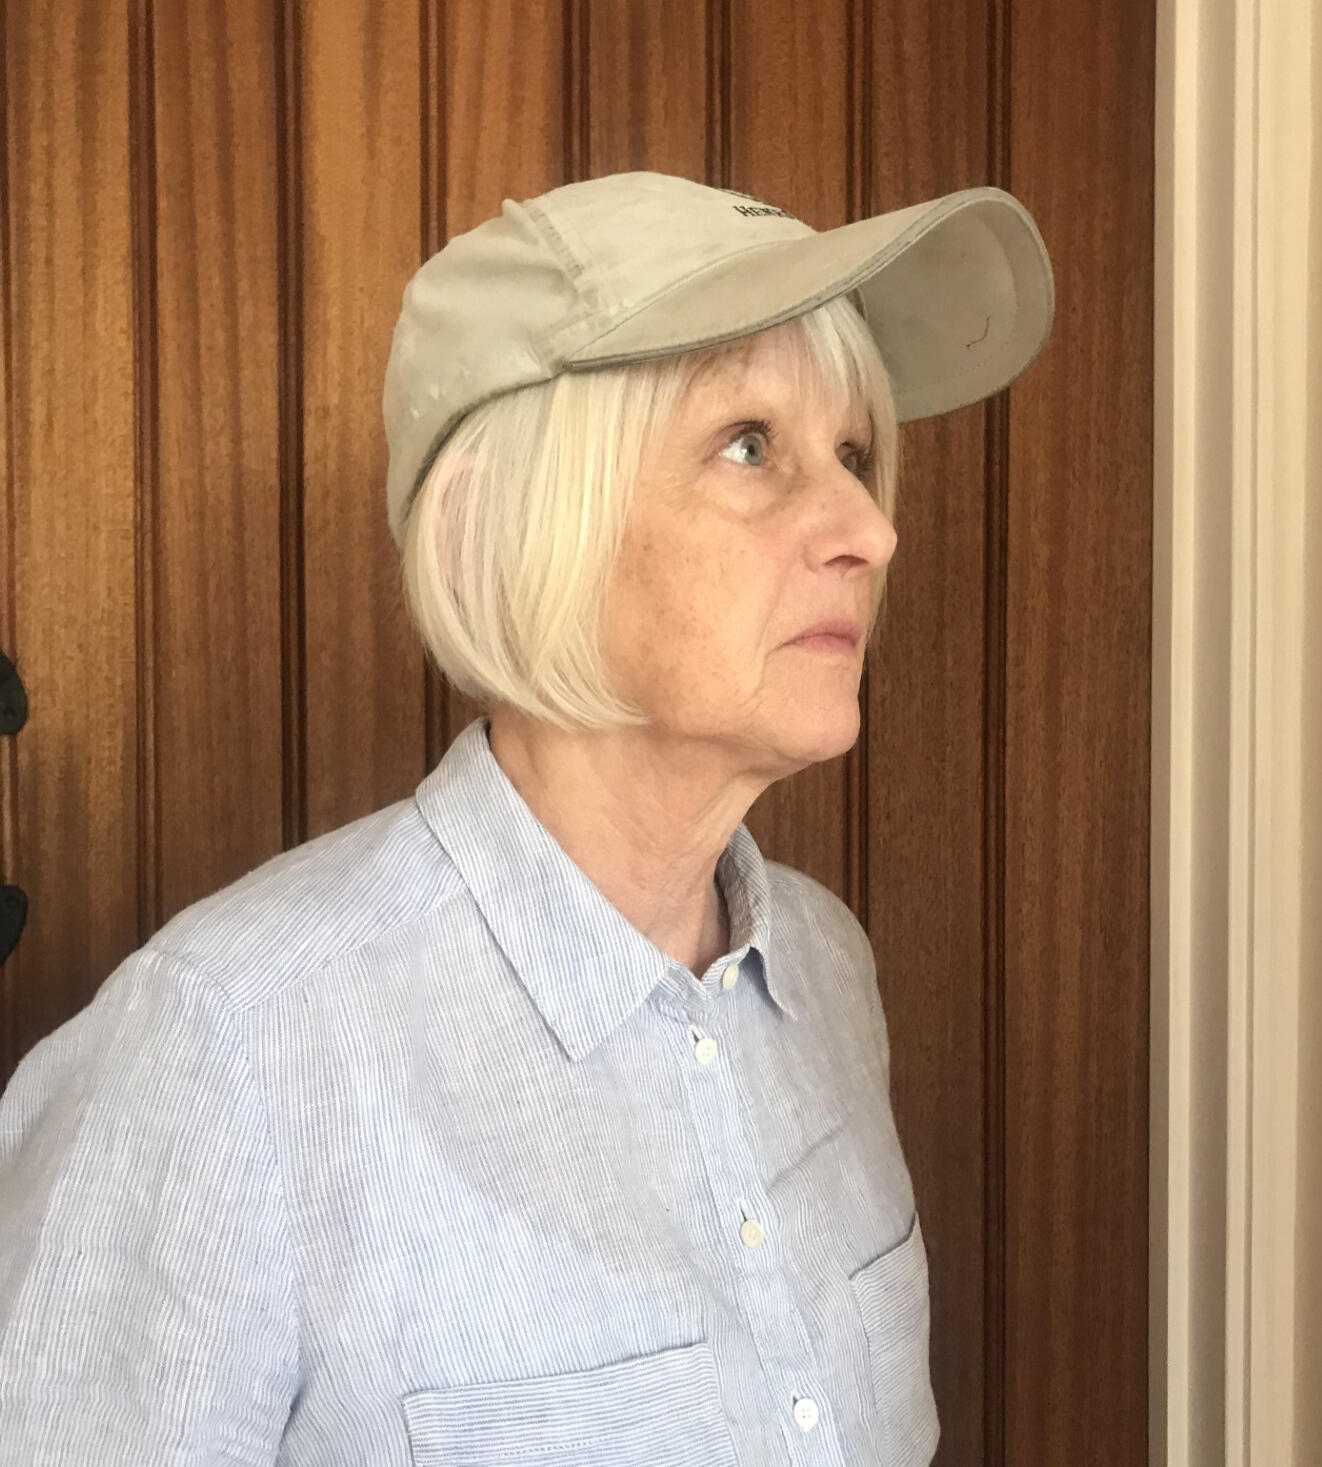
Lightweight and Natural
The underhat wig fits comfortably beneath a cap, looking and feeling natural.

Confidence to Step Out, wearing your own hair under any hat
The wig can be worn under any style of hat — from beanies to sunhats — offering freedom, comfort, and dignity every day
Recent Youtube Comment”Thank you so so so much for this. I am recently diagnosed with cancer and will be starting my chemo on Sept 1. I have done the same rabbit hole research as you regarding wigs, own. hair wigs, etc and it all seems so expensive, bothersome, and difficult to find something that feels natural. So I started wondering if at least I could USE my own hair somehow, perhaps to make what they call a 'hat halo' (similar to your idea but the hair is attached to ribbons) and lo and behold my search led me here. I think I will still use the ribbon idea as its more lightweight, but your amazing tutorial helped simplify the process of cutting and keeping track of the hair pieces. I can't thank you both enough. And I hope that your mom is doing ok.”
This course is here for you, too.
You can watch the full step-by-step course for free on YouTube, download our free cutting and supplies guides right here, and reach out with any questions if you need support along the way.
Please share this with anyone who might need it.
You never know whose life it could touch — a friend, a sister, a neighbour. Together we can make sure more women feel supported, prepared, and cared for on their journey.To make it easy, here are a few ready-to-use messages you can copy and past.
I just found this free course called Hats of Joy. It shows you how to gently cut and save your hair before chemo and make it into a simple underhat wig. It’s such a beautiful way to hold onto a part of yourself during treatment. You can find it here: www.hatsofjoy.co.uk 💕
If you or someone you love is starting chemo, this free step-by-step guide might help. It’s a gentle way to make a wig from your own hair, created with so much love and care. www.hatsofjoy.co.uk 💜
Chemo can feel overwhelming, but this free course shows women how to keep a piece of themselves — by making a wig from their own hair before treatment starts. It’s simple, kind, and completely free: www.hatsofjoy.co.uk 🌸
Thank You
© Untitled. All rights reserved.